

I’m sure you’ve all seen the hype surrounding the Prism Rainbow highlighter by BitterLaceBeauty. The internet has been going mad for it and it’s appeared in the makeup bags of Youtubers such as Jeffree Starr and grav3yardgirl which unfortunately for us has meant that it has been in such high demand that it is now out of stock and there is a 9-10 month wait if you preorder! As I have been desperate to try a rainbow highlighter ever since I first saw the Prism highlighter on Instagram, I decided that I would have a go at making my own and it was surprisingly a lot easier than I thought it would be!
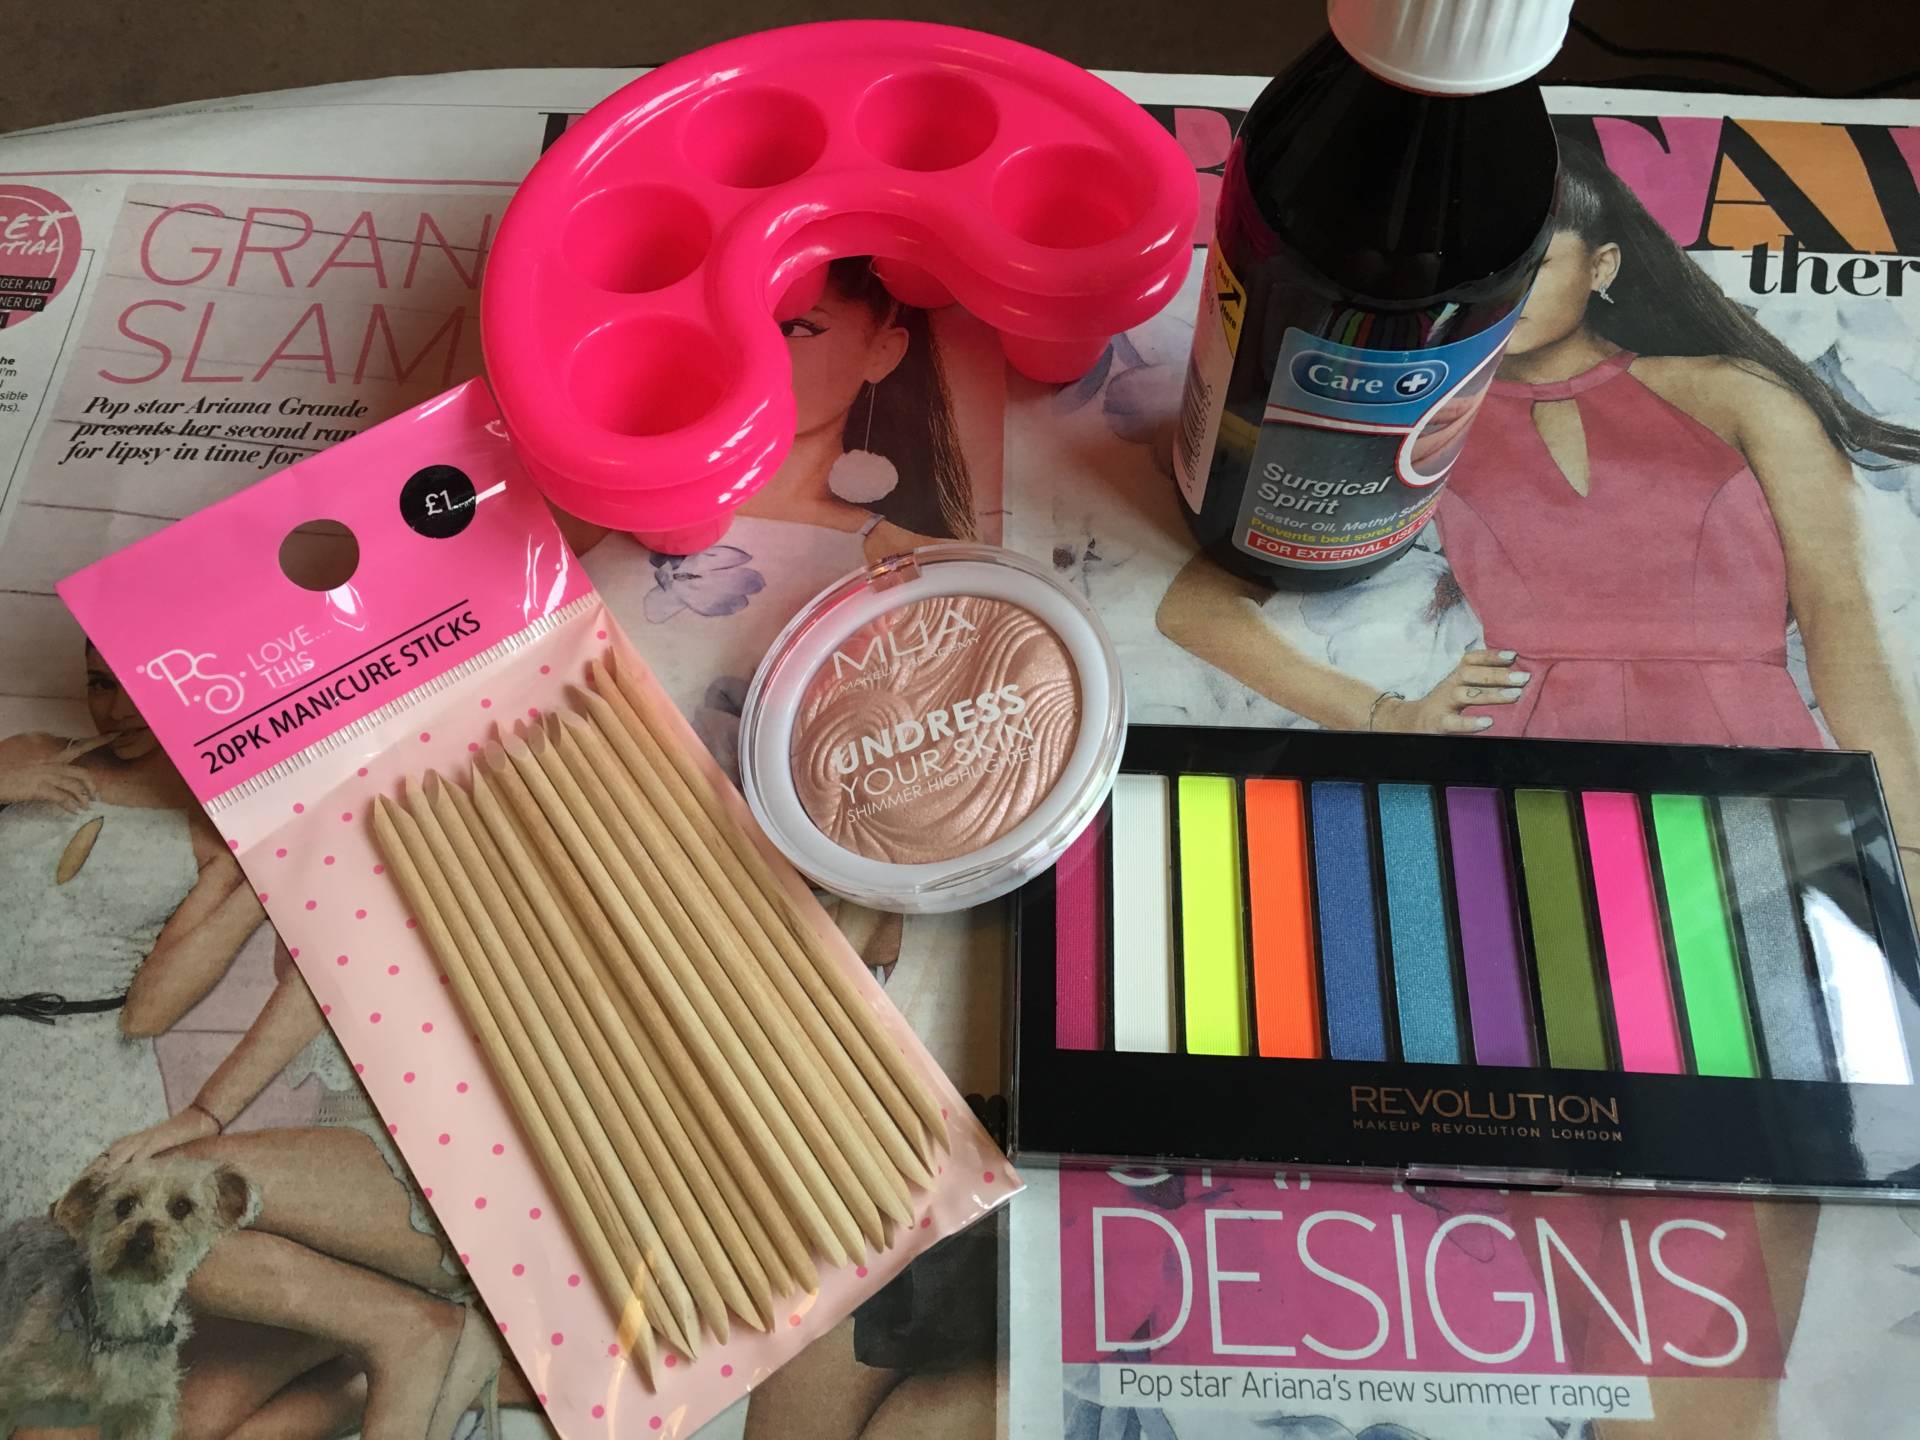
I went into Birmingham and picked up all of the bits that I needed to create a rainbow highlighter – a lot of these are items that I already had knocking about at home, however I was staying with my boyfriend so I had to buy everything again. The items came to less than £10 which really wasn’t bad.
What you need to create your own rainbow highlighter
- A powder highlighter – any cheap one will do. This MUA one cost me £3.
- A range of colourful eyeshadows – they don’t need to be neon, you could choose pastel shades for a more subtle rainbow. This palette from Makeup Revolution cost me £4.
- Rubbing alcohol – or surgical spirit as it is known in the UK. This was only £1.79 from Superdrug and will come in handy for fixing any broken blushers/powders I have lying around.
- Something to mix it all in- I decided to go for these nail soak trays as they have five individual sections which was ideal for the amount of colours I was going to be using. This was only £1 for two trays from Primark.
- Something to mix with – any type of stick will do but as I was in Primark already, I picked up these manicure sticks for £1.
- A knife and a teaspoon.
- It’s also a good idea to put some newspaper down on the surface you are working on before you start – this can be very messy!
How to create your DIY rainbow highlighter
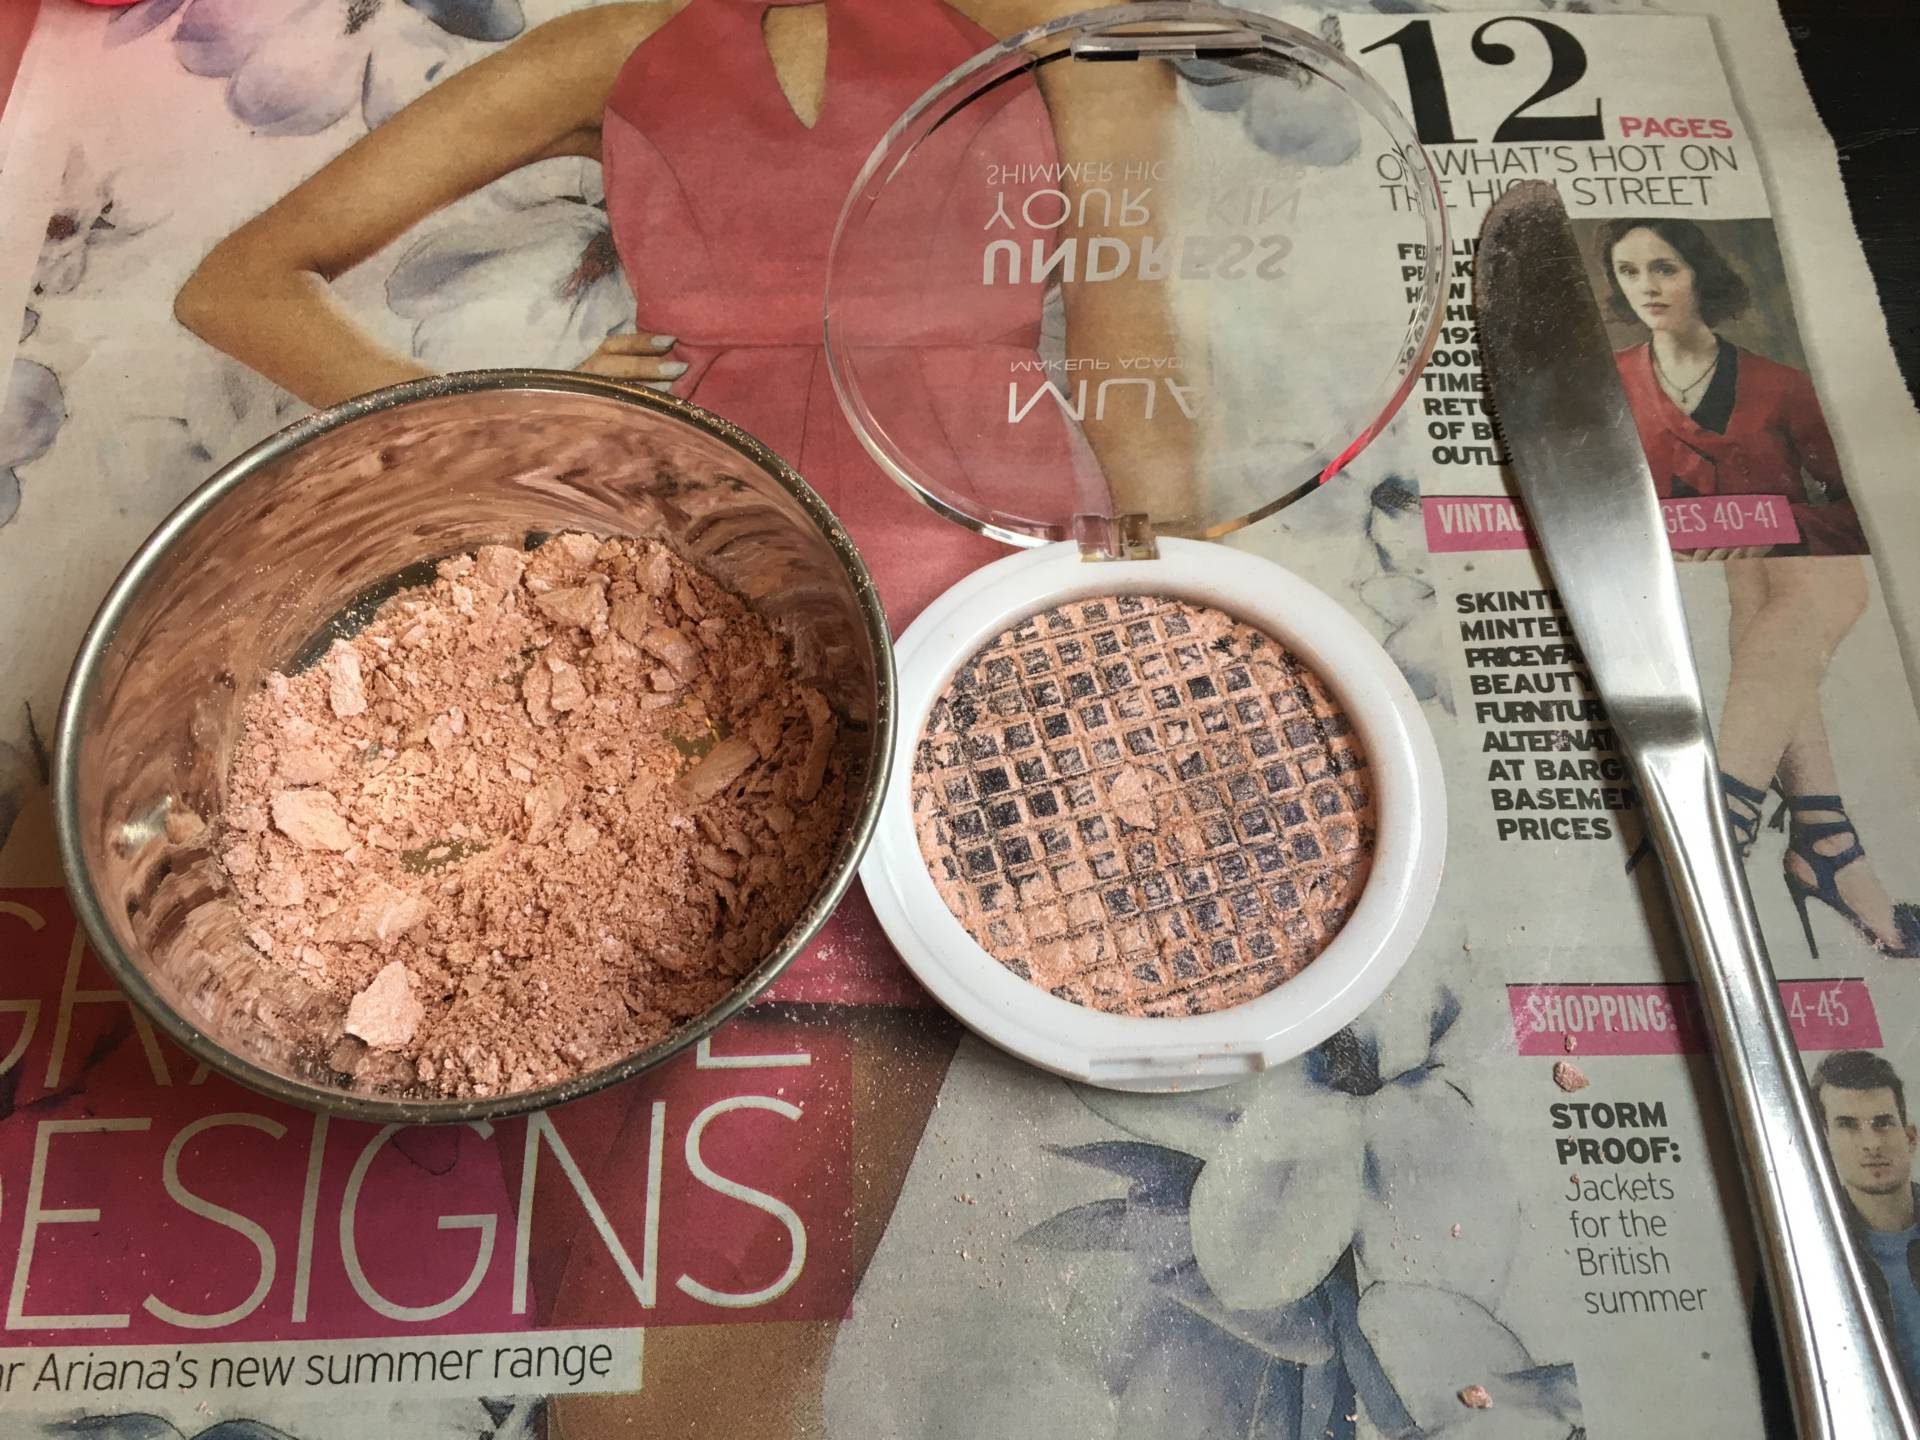
1. The first thing you need to do is scrape out the contents of the powder highlighter into a bowl. I used a knife to break up the product and remove it from the container, it mostly came out in big chunks but it did take me a while to get it all out. There was quite a lot of the product left in the bottom due to the ridges but this wasn’t a big problem. I then made sure that there were no big lumps left in the powder by mixing it up with the knife.
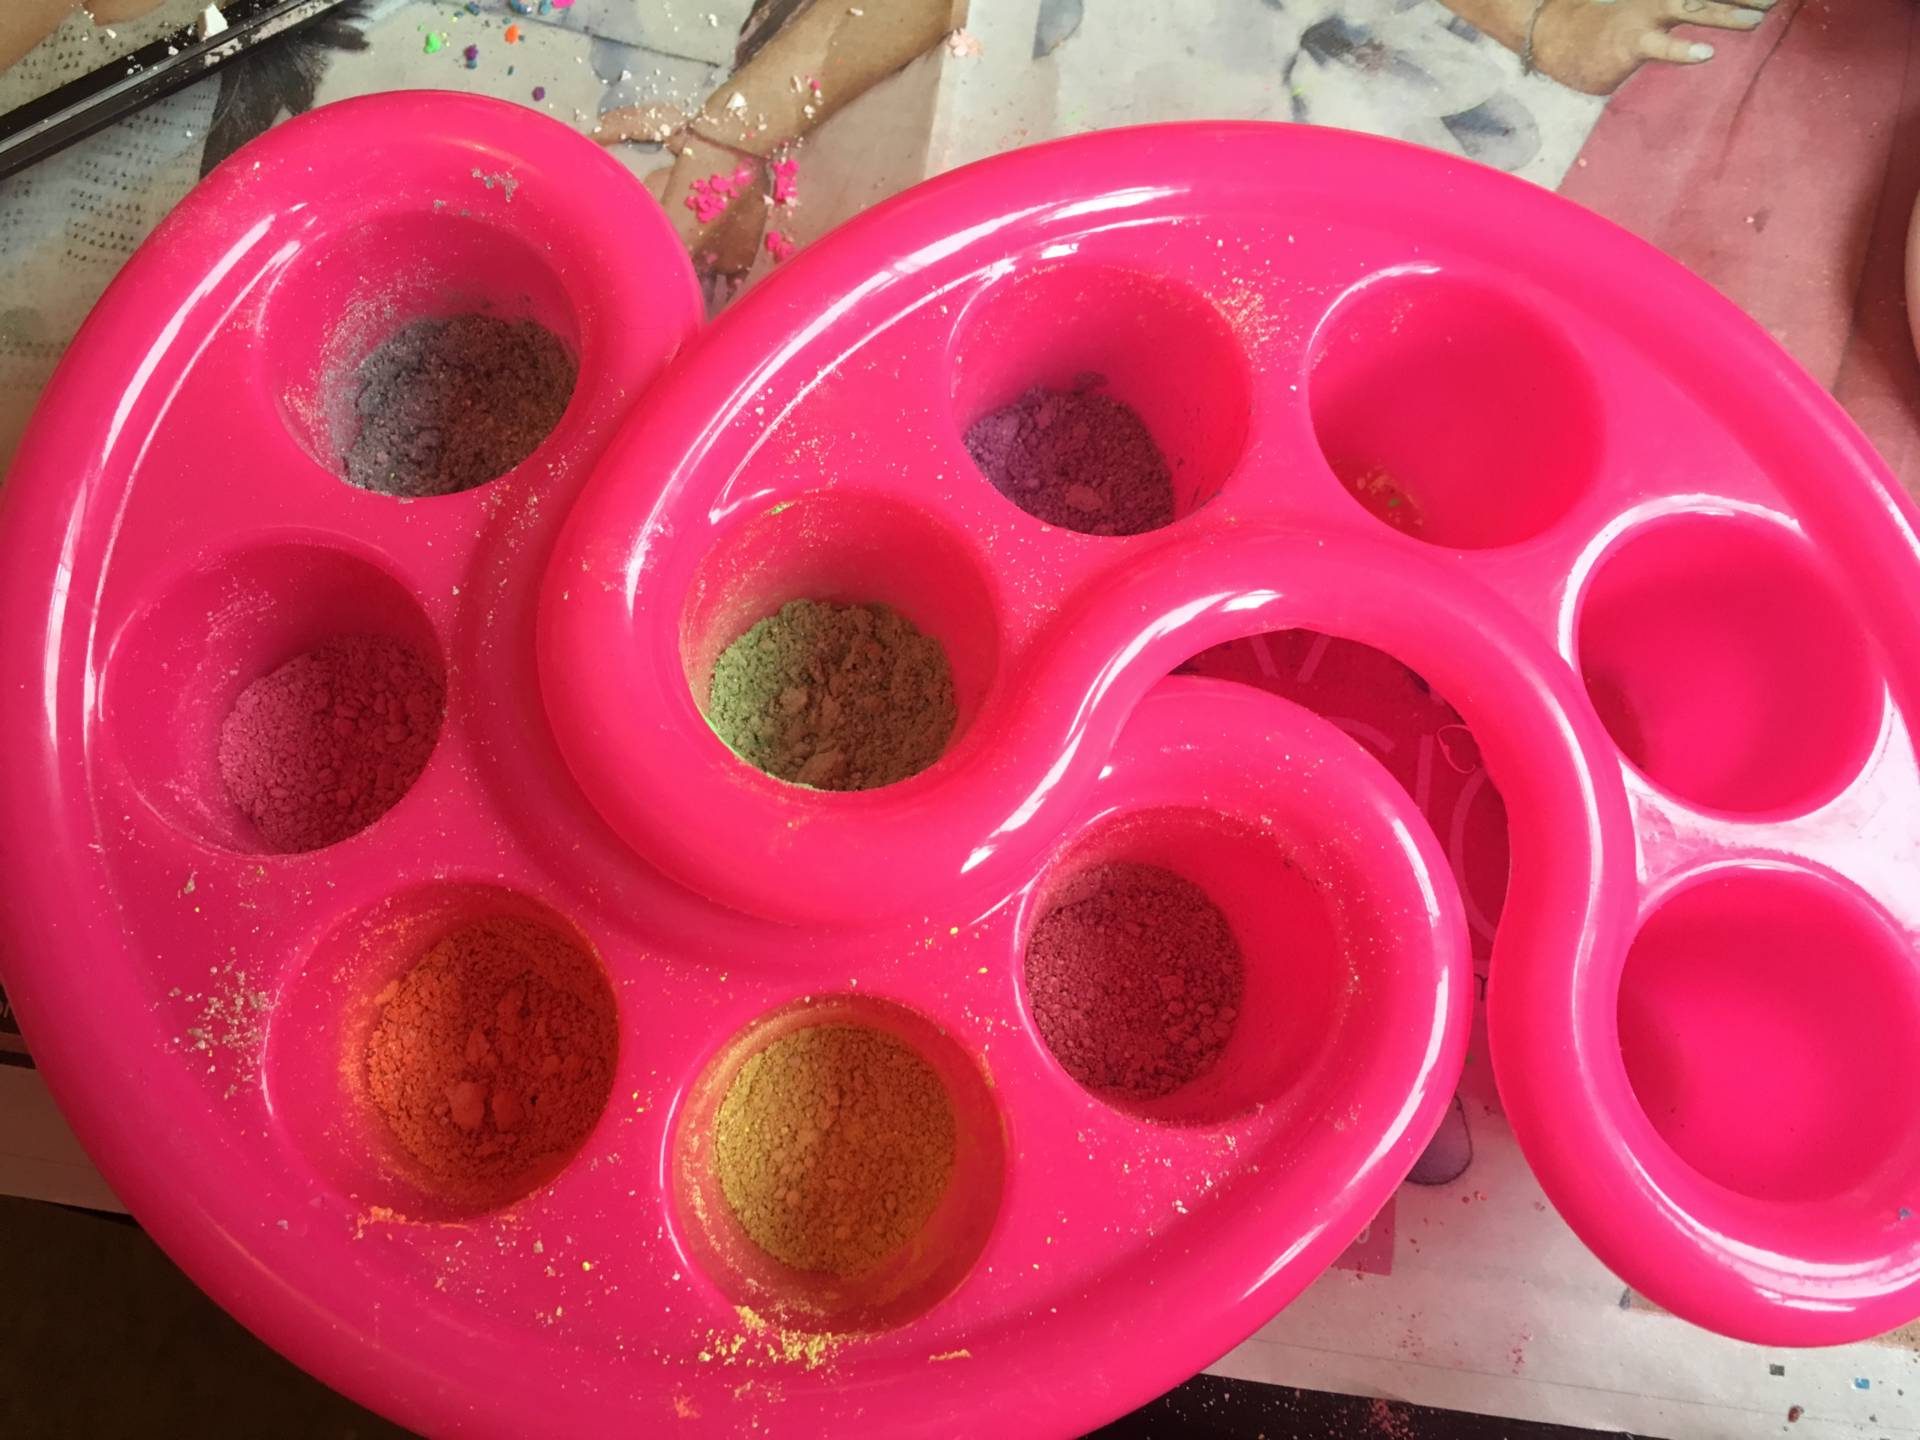
2. The second thing you need to do is choose the eyeshadow colours that you will be using and deposit them into your smaller containers in the same way that you broke up and deposited the highlighter. I went for two different shades of pink, green, blue, orange, yellow and purple.
3. You then need to split your highlighter evenly between the different shades of eyeshadow. I did this with a tea spoon, starting off with half a teaspoon for each one and then adding more if there was any left. A couple of the colours were a bit too neon for my liking so I also mixed in a bit of white eyeshadow just to lighten them up a bit.
4. It’s now time to add the surgical spirit to create a paste. I started off with half a teaspoon in each colour and gradually added more until I got each colour to a consistency that I was happy with. A couple of them ended up a bit too watery (one of the pinks and a purple), so you do need to remember to add a little at a time!
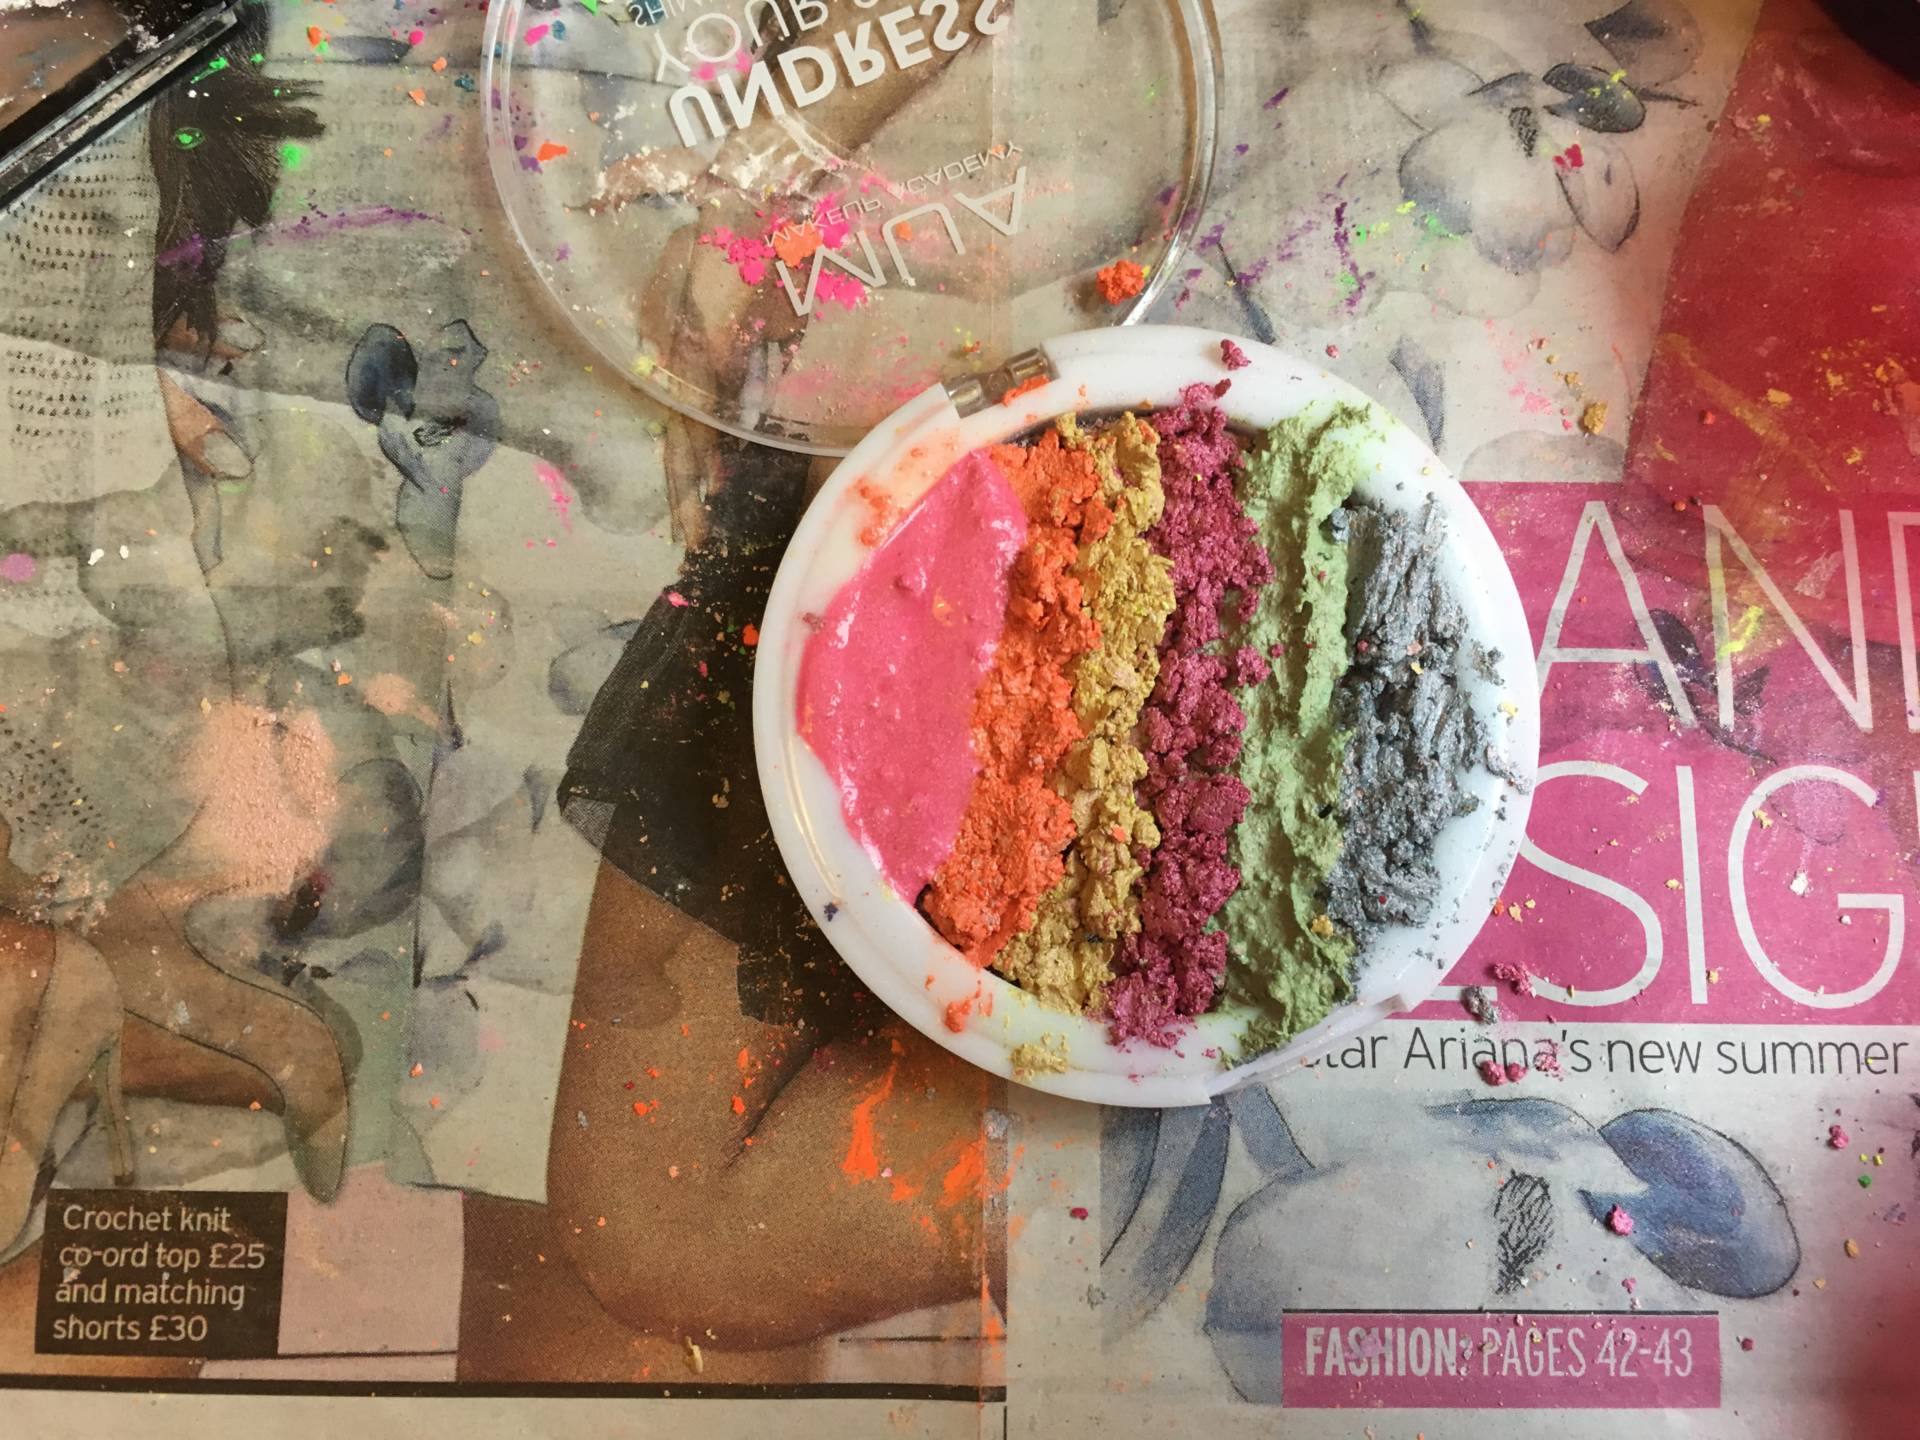
5. Once all of the colours have been made into pastes, it is time to deposit them into the empty highlighter packaging. I used my knife to place them into the container and then the manicure sticks to shape them. As you can see, one of the pinks was very liquidy (and the purple was even worse, so I ditched that one!) but I used it anyway.

6. Once all of the colours are in the container and you are happy with how they look, you just need to take a piece of kitchen towel, place this on top of the highlighter and apply something heavy on top to press it down. I just used the weight of my hand but if you want a more even surface on your highlighter, you could use a book. The towel absorbed the excess surgical spirit and made it look a bit more like the rainbow highlighter from BitterLaceBeauty.
7. The final step is to leave your new rainbow highlighter to dry overnight – I left mine for just over 24 hours before I swatched it for the first time.


And here’s the end result! Obviously it’s not as aesthetically pleasing as the BitterLaceBeauty version but it still does the job and I’m so impressed with the colour pay off. I didn’t think it would turn out this good and now I’m on the look out for a large brush so I can try it on my face properly. I do still really want to try the original rainbow highlighter, but for now my DIY version will do.
What do you think of this DIY? Will you be giving it a go yourself?
Tags : budget beauty, DIY, highlighters, Rainbow highlighter


This looks awesome. I have that Revolution palette too, i’d love to try this x
this is so good! ive seen rainbow highlighters everywhere. i wouldnt use one but would just stare at them 😀
Hayley that is brilliant, I think the colours look great and it looks like a lot of fun too.
A brilliant tutorial and step by step instructions.Great results with the finished product.
Ong this is so frikken cool!!! I don’t know when I’s use it for but I need to try!!